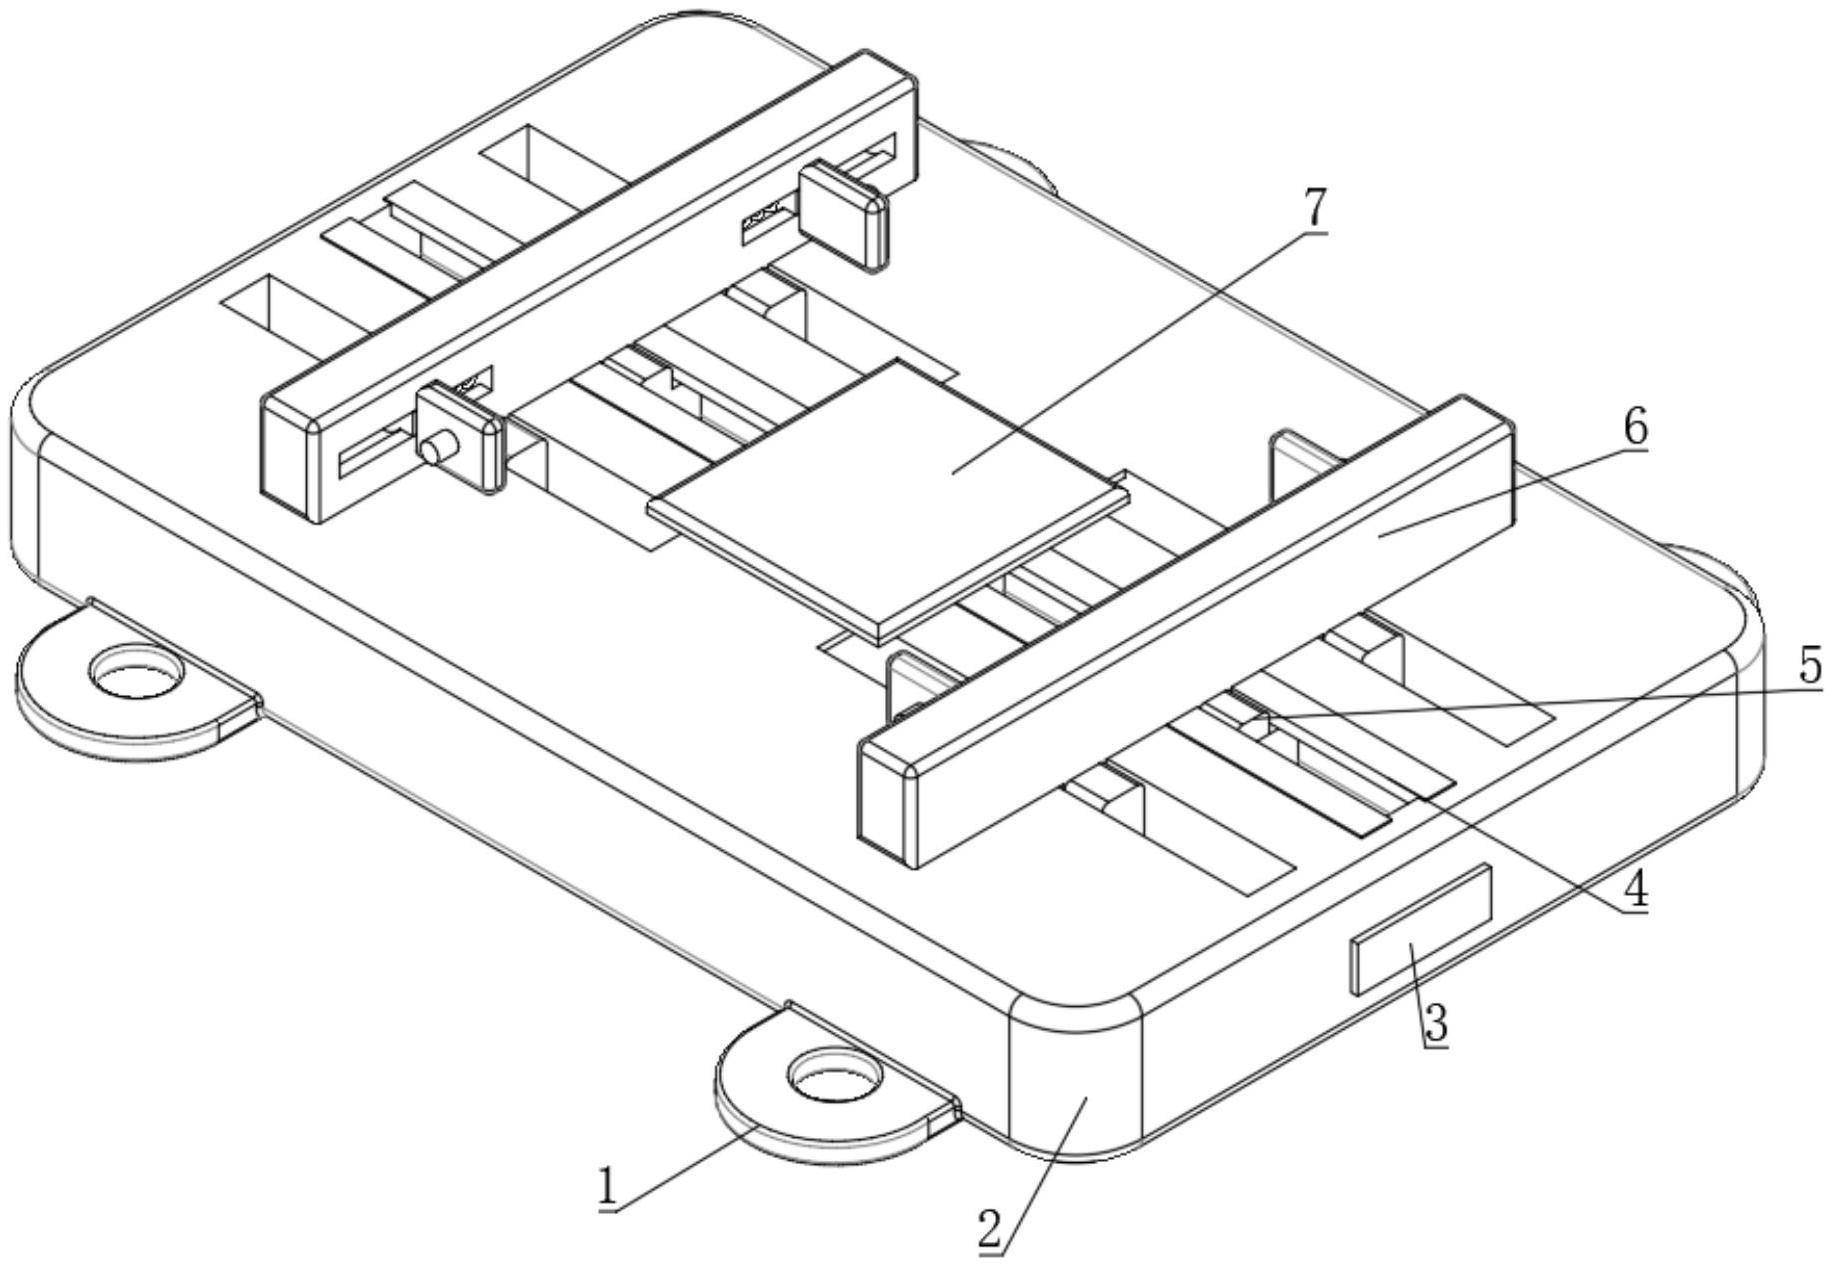
In the world of screen printing, registration accuracy is the foundation that determines the soul and quality of the work. We firmly believe that "One-Time Alignment, Consistent Precision" is the core principle for achieving efficient and high-quality production. To this end, we must integrate rigorous processes with refined techniques. Let’s take a look at the specific procedures below:

1. Purpose
To standardize the registration operation in screen printing, ensuring high repeatability and accuracy in mass production through standardized steps and inspections, thereby achieving consistent print quality.
2. Pre-Operation Preparation
2.1 Equipment and Tool Inspection
Ensure the printing machine and screen frame clamps are clean and secure.
Check that positioning pins, spring clamps, and other registration devices show no wear or looseness.
If vacuum adsorption is used, ensure the adsorption area is flat and the air holes are clear.
2.2 Screen Preparation
Confirm the screen tension meets printing requirements and the screen frame is free from deformation.
Clean the screen to ensure the registration crosshairs are clear and free from residual ink.
2.3 Substrate and Fixture Preparation
Verify that the substrate dimensions are within the allowable tolerance range.
Ensure the substrate positioning fixture (e.g., jig or clamp) is accurately installed and securely fastened to the printing table.
Perform a test placement to confirm the substrate fits snugly and without wobble in the fixture.
3. Registration Operation Steps (Achieving "One-Time Alignment")
Step 1: Initial Installation and Rough Adjustment
Install the screen onto the clamps without fully tightening it, keeping the screen adjustable.
Accurately place an unprinted substrate into the fixture.
Lower the screen to roughly align the screen’s registration crosshairs with the target position on the substrate (or the reference marks on the fixture).
Step 2: Precise Alignment and Locking
Fine-Tuning Stage: Use the machine’s fine-adjustment knobs to precisely adjust the screen position (X, Y, θ angle) until the screen’s crosshairs fully align with the substrate’s registration marks.
Visual Confirmation: View from above the screen and slightly shift your viewpoint left and right to check for parallax, ensuring absolute alignment accuracy.
Locking the Screen: Employ the "Diagonal Progressive Tightening Method"—first pre-tighten all clamps in a diagonal sequence, then gradually and evenly fully tighten them in the same order. This step is critical to prevent screen frame deformation due to uneven stress.
Step 3: First Print Test and Final Verification
Raise the screen and place a test substrate for printing.
Perform a squeegee pass to complete the first test print.
Raise the screen, remove the first printed sample, and compare it with the standard template using tools such as a magnifying glass or projector.
Acceptance Criteria: Confirm that the registration accuracy is 100% compliant. If deviations exist, repeat Step 2 for fine-tuning and perform another test print until perfect alignment is achieved.
Completion of "One-Time Alignment": Once the first print is confirmed as qualified, the registration process is complete. During mass production, the screen position should generally not be adjusted further.
4. Maintaining Accuracy During Mass Production (Ensuring "Consistent Precision")
1. Regular Inspection System
During mass production, stipulate that at regular intervals (e.g., every 50–100 prints), one printed product should be sampled and quickly checked for key registration marks.
This practice aims to monitor minor deviations that may arise from environmental changes, equipment fluctuations, or cumulative material errors.
2. Operational Stability Maintenance
Ensure the substrate is fully and properly seated each time.
Maintain consistent squeegee pressure and printing speed to avoid sudden parameter changes that may affect screen deformation.
Clean the screen promptly to prevent ink buildup on registration marks, which could obstruct visibility.
5. Precautions
Strictly prohibit arbitrary adjustments to the screen during mass production due to a single defective print. First, check whether the substrate is properly seated, the fixture is free of debris, or the screen is loose.
If systematic and persistent deviations are detected during inspections, stop the machine, investigate the cause, and re-execute the full registration process outlined in Section 3.
Develop good equipment maintenance habits by regularly inspecting and servicing all positioning-related components.
Contact: Bruce Lee
Phone: 13714371086
Email: hnlyxiaolong@163.com
Add: Room 203, 2nd Floor, Building 1, Yongshengfa Technology Park, No. 28 Daxing Road, Dalingshan Town, Dongguan City, Guangdong Province, China